Winter is a great time to sneak out for the odd decent day of fishing but it’s also a time to service gear, prep rigs, tie flies and think about your plan of attack for the coming season.
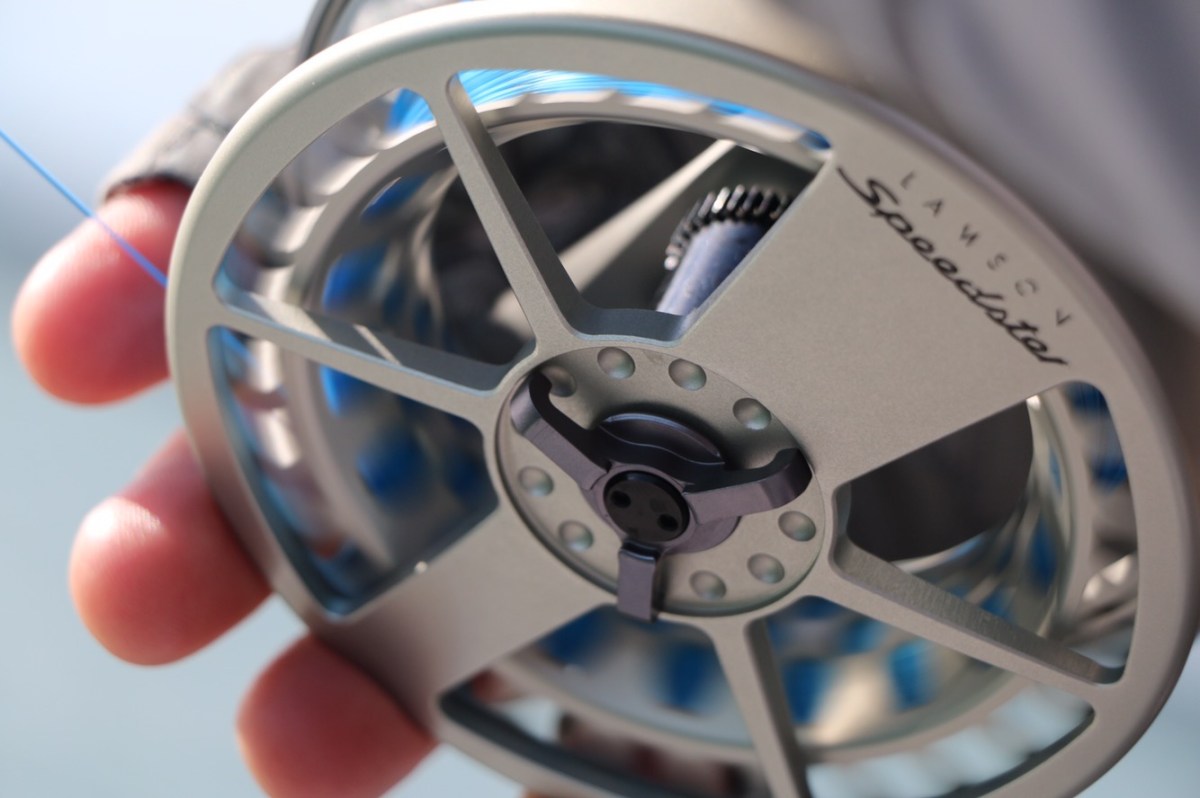
Something that came to light while changing fly lines recently was how many shitty backing to fly line connections I’ve seen. There’s no denying powerful fish need strong connections. 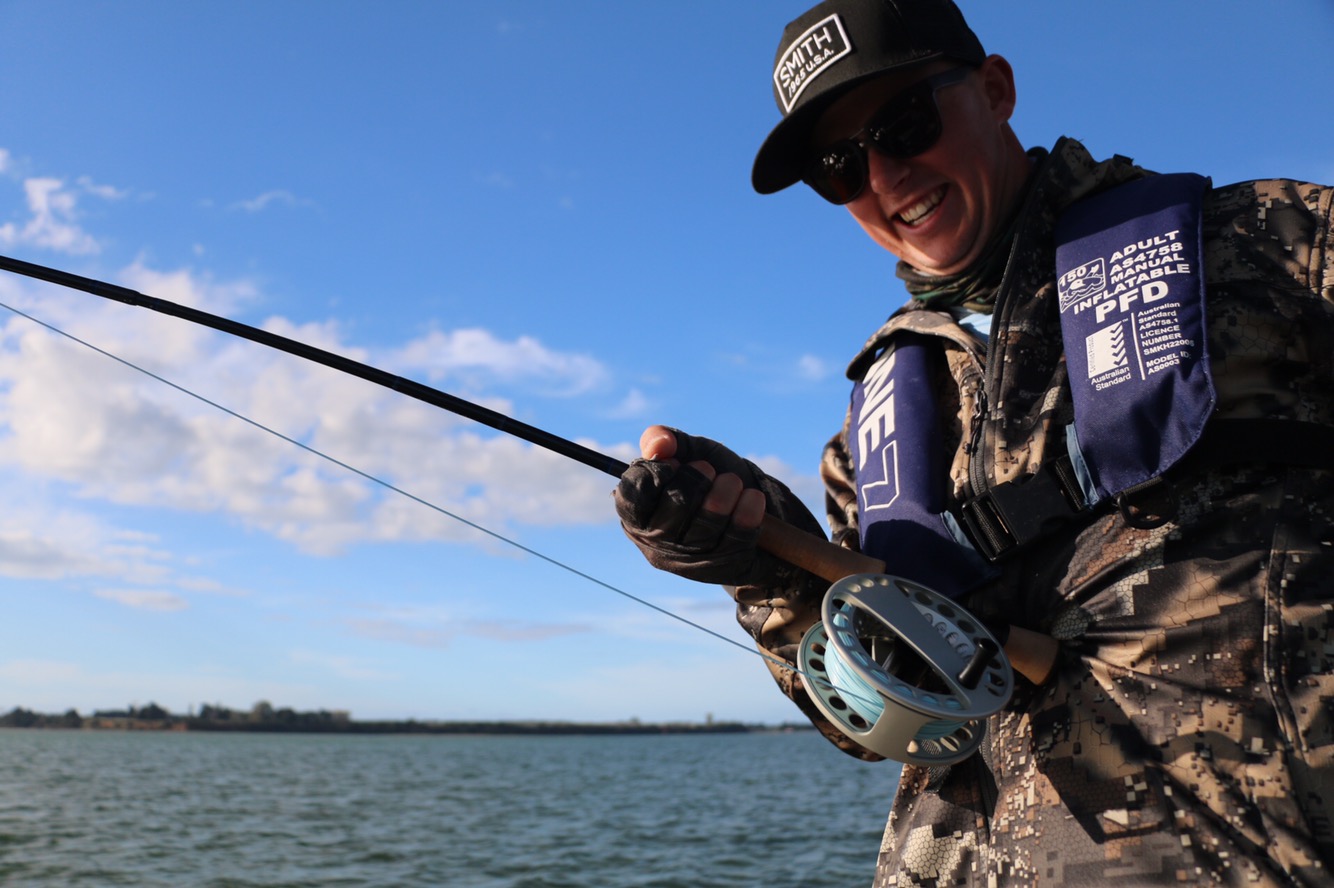

My flats Kingfish assemblies tend to step down from 60lb fine diameter backing to fly line (approx 35lb) and ending with around 20-30lb straight section of fluoro leader. This is to help avoid losing fly lines but also try to prohibit fish carrying excess line around if they bust free (barbless hooks should also get a mention for this reason).
At a pinch you can double your backing and make a doubled Bimini loop. This has twin loops and is better than a single strand which can bite into a fly line.
My favourite is to create a sleeve of braided 50lb mono and use this as the load distributor through your loop-loop connection. The steps below should get you underway and have more confidence in your connection as it sings out the guides. 
- Cut a length of braided mono to make a loop big enough to pass your reel through – this makes changing lines easier if you need.

Braided loop should be big enough to pass reel through. - Pass backing through braided mono and leave tag end of 50cm
- Thread whip one end of mono. Give it a light dab of super glue and roll in fingers to absorb.
- Smooth the mono tightly to the other end, ensuring no slack. Repeat whipping/gluing.
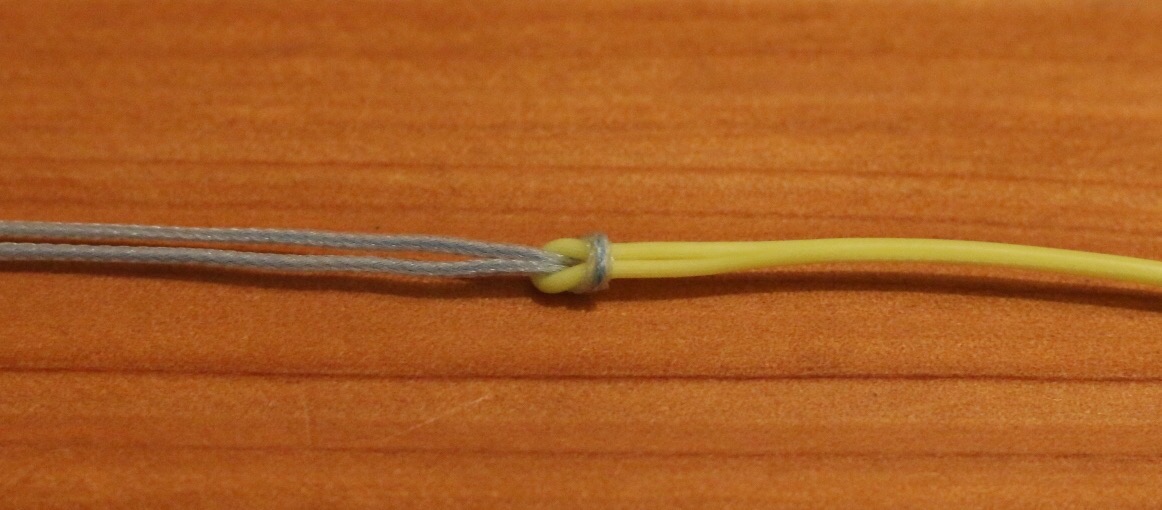
- Now double the backing up to form your mono sleeve loop. Make the two whipped ends slightly offset – this should help taper the transition of finished knot.
- Plait braid back down onto the mono whipped tag ends. Start far enough up from mono ends to create a 4-5cm plait.
- Once you reach mono start half hitching, using opposing hitches. These should start to trap the braided mono.
- Work hitches down until you’ve covered previous whipping and secure tag with a rizutto finish.
- Cover knot with Loon soft head or similar flexible glue.

Tied, glued and dried. Ready for a beating. - Allow to fully dry, nothing worse than winding fly line on and discovering you’ve glued it to your backing knot!
- Attach fly line by passing backing loop fully through fly line loop then passing reel through large backing loop. Finished connection should resemble a reef knot.
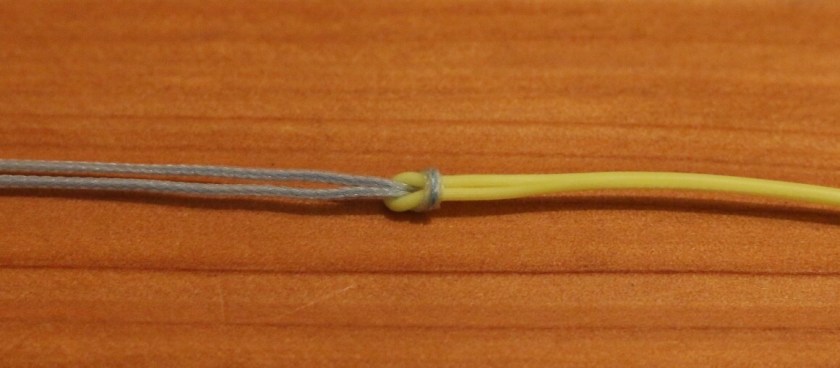
Finished loop to loop connection.
Some useful knot links.
Plait – https://youtu.be/2uUWS7dzOn0 NB: stop at 1:20 mark, don’t use finishing knot in video. Start hitching instead.
Rizutto finish – https://youtu.be/H09wT8r8dC8

Back in another life I game fished for 18 years and one of the knots I learned to use in those days was a six turn Cats Paw. On two occasions I saw one of the strands of double break and the CatsPaw held in both cases. So I just use a six turn Cats Paw to join the backing to the back of the fly line.
Another thing game fishing taught me was to clean and lube after every outing and to scrutinise all of the gear very closely whether it was used or not and fix any faults there and then. Cheers BM
LikeLike
Cheers Bruce, certainly pays to check all things and make sure they’re up to task. Nothing like loosing a fish due to poor attention and care.
LikeLike